Perfect Tips About How To Cope Molding Video

How To Cope Inside Corner With Coping Saw Video - Youtube

How To Cope Crown Molding | Wood

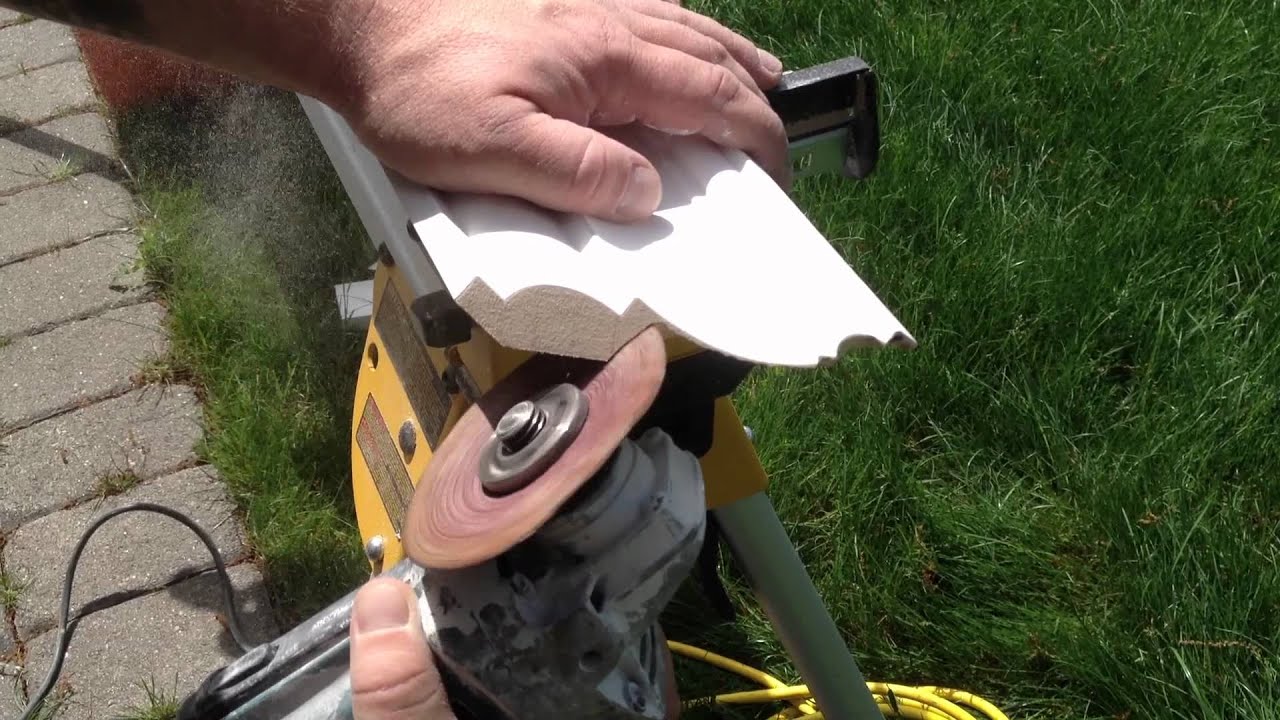
How To Cope Molding - Coping Saw Tools For The Home Youtube
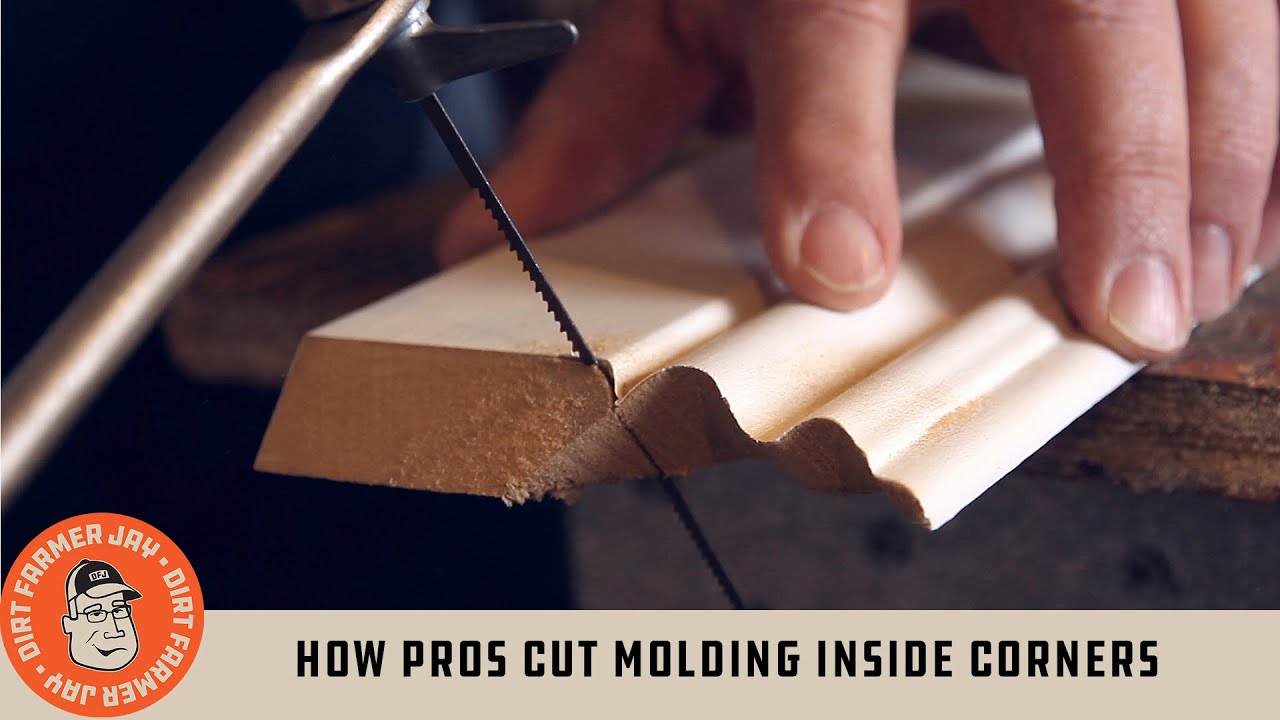
How Pros Cut Molding Inside Corners - Youtube
How To Cope Joints (diy)
Coping Crown Molding On Inside Corners - Youtube

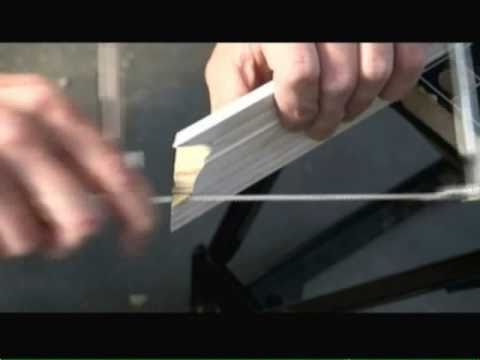
Using a pencil, trace along the mitered profile to establish a cut line.
How to cope molding video. Learn how to cope crown molding. Learn how to cope crown molding with this simple approach Most corners are not a perfect 90 degrees so coping the.
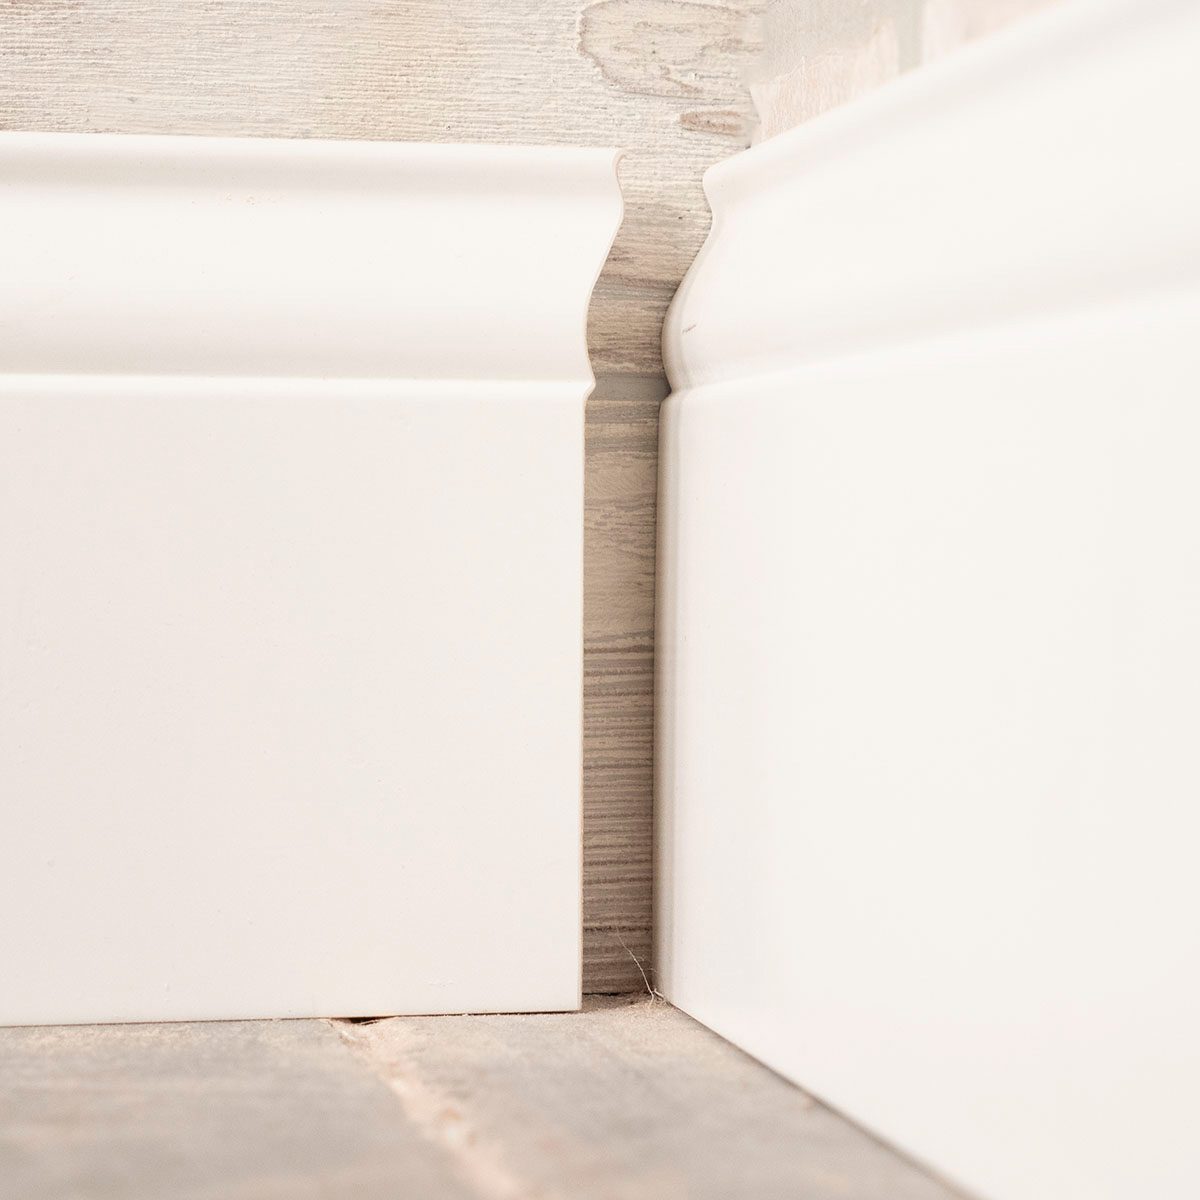
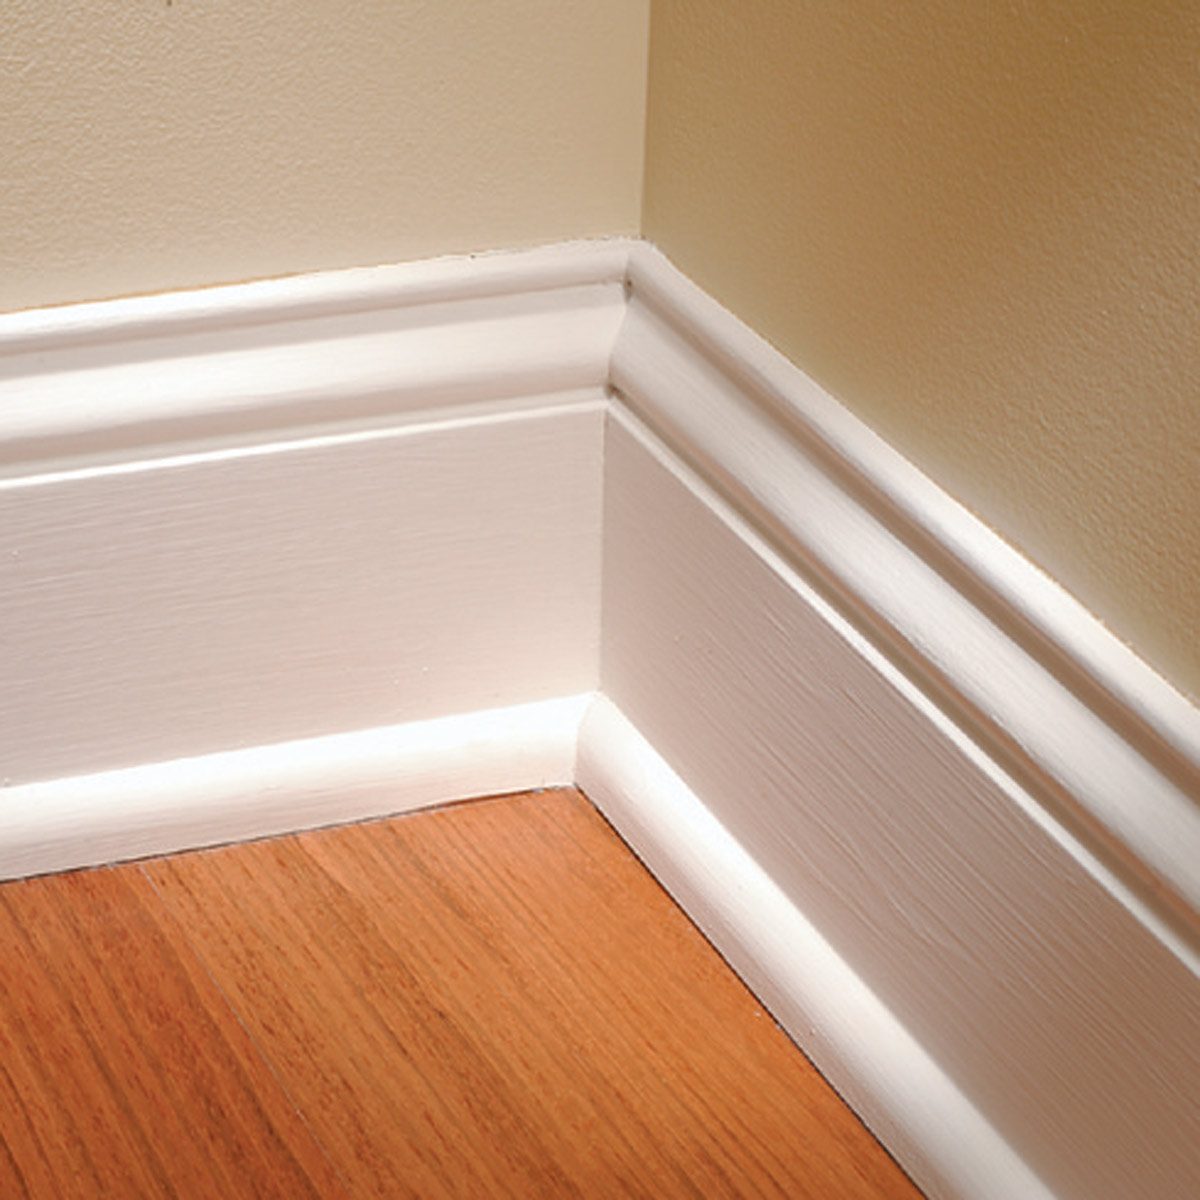
Instead, slip a thin shim between the molding. Coped crown molding is actually one piece of crown fitting over another piece instead of the two being mitered at the inside corner. If there's a slight gap between the molding and the wall, don't press the trim tight to the wall and nail it;
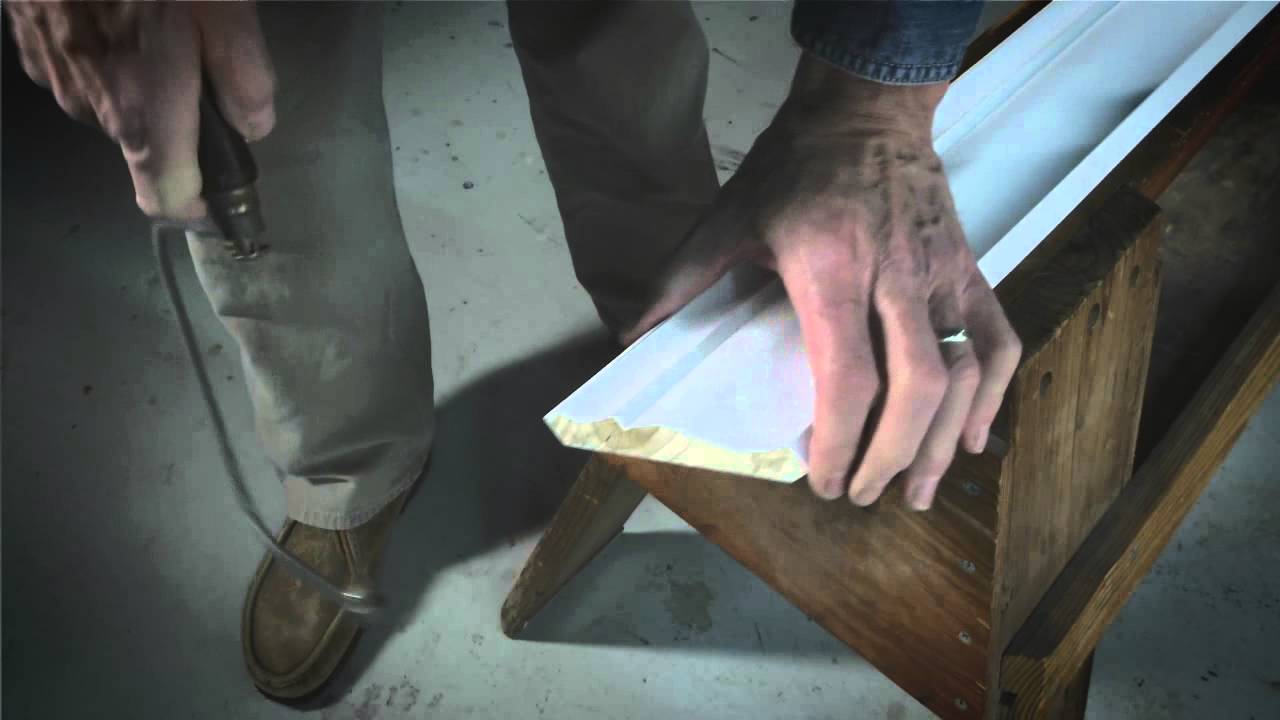
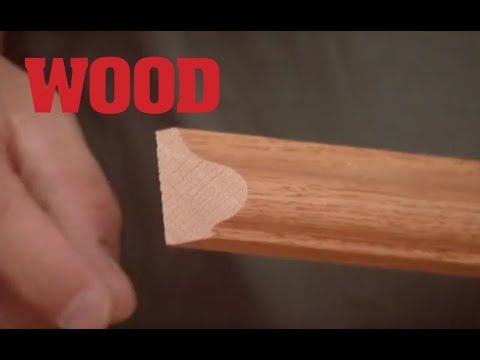
Wood magazine's jim heavey shows you how the professionals do it. This is one video in a series that includes several types of molding:. In this video, mark demonstrates the techniques and mechanics of how to use the dremel rotary tool to cope molding.
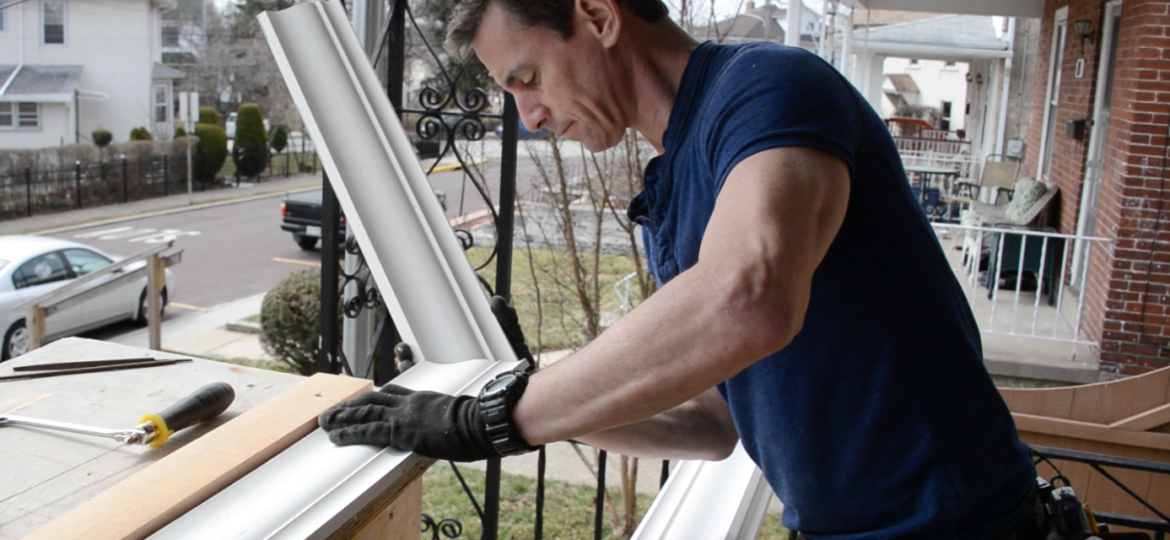
Learn how to cope moldings for inside corners on baseboards and chair rails. If the molding is already. Learn how to use a coping saw and you can.
The miter joint might open up. In this video, this old house general contractor tom silva explains how to cope a joint for crown moldings. Cutting line for the coping saw.
How to cope crown molding. Coping inside corners creates a tighter joint for a better look. 1) cut the first piece of the moulding so it fits flush against the wall (in this example, the left side) 2) cut the right side of the moulding.
To prepare a coping joint: Crown molding brings elegance to nearly any space. Learn how to cope crown molding.
Whether you choose to use it around windows and doorways or to line the top of the. 10 ways to reinvent any room with crown molding. Position the molding upright so the back is flat against the fence of your miter saw.
Most corners are not a perfect 90 degrees so coping. Set your miter saw at 45 degrees to the left. Wood magazine's jim heavey shows you how the professionals do it.
Get both back ‘flats’ dead flat on the fence and deck of the saw. To do trim like this right, you need to cut it right. To cut it right, it needs to sit in the saw right.

Coping Molding - Youtube

The Secret To Coping Crown Molding - Fine Homebuilding

Installing Crown Molding: Coping - Youtube
Mark's Trade Tricks: Cope And Install Crown Molding--video Tutorial, Diy | Myfixituplife
How To Cope Chair Rail Video - Youtube
How To Cope Crown Molding | Wood
Coping Trim For Inside Corners | Family Handyman

How To Cut Crown Molding Outside Corners For Beginners - Youtube

Coping Base Boards…
How To Cope Molding For Inside Corners - Wood Magazine Youtube

How To Cope Joints | Woodworking Kits, Trim Carpentry, Moldings And

Coping Crown - Understanding The Coped Joint Youtube

How To Cope Crown Moulding: A Demonstration - Youtube